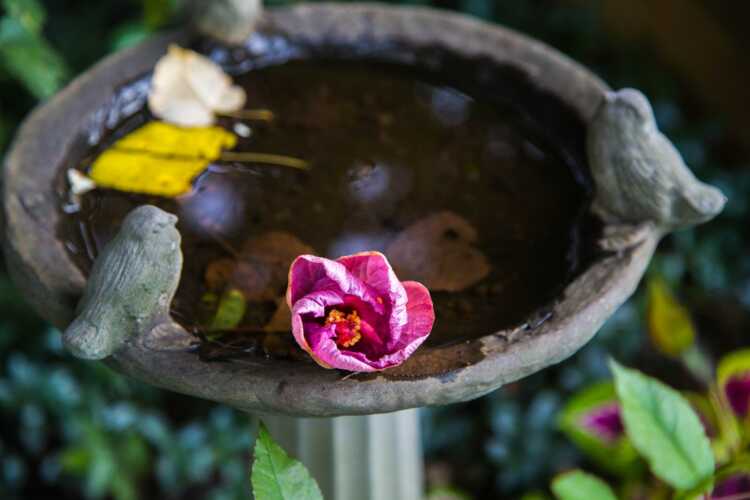
Many people want to make things easier for their tiny feathered friends in the summers by leaving a birdbath in their backyard. But, having it sit tight in one spot without tipping over isn’t easy. We came across this problem and researched several anchoring techniques to find a list of ways that would keep your birdbath safely locked in one place. So without further delay, let’s discover how to stabilize a birdbath.

Quick Answer
Ground leveling is the most common anchoring technique and is crucial for stabilizing a birdbath. You can start by choosing the perfect location for your birdbath that’s not too crowded with flowers, trees, or other decorations. A level surface is a good place to start, but don’t book a spot where other animals can easily feast on your feathered friends.
Measure the base of your birdbath and dig a 2-3 inch deep hole. Use a spirit level to ensure the ground is even. Once done, place the birdbath in the ground, drive the stakes and cover the open area with gravel or concrete slabs and you are done.
Using a Concrete Block
The concrete block technique is easy to accomplish and takes only a few steps to secure your birdbath.
Step 1: Take Measurements
Measure the base of your birdbath to know the circumference of the hole you are going to dig. You can start by placing the birdbath on the ground and drawing a circle at least 2 inches wider than the base. This is how wide your hole is going to be. Don’t dig wider than this; otherwise, your birdbath will wobble.
Step 2: Start Digging
Now that you know the circumference of the hole, place the birdbath on the side and start digging. You are aiming to dig at least 4-5 inches deep. This is so you can add gravel and concrete blocks to secure the birdbath.
Step 3: Level The Ground
Once the hole is dug, you need to level the ground, and you can use a spirit level to ensure the ground is even. Afterward, start adding gravel but don’t add too much. If your hole is 4 inches deep, you should only add up to 1 inch. Level the gravel because you are going to put concrete blocks on it. Once again, take out your trust spirit level and ensure that gravel is evenly spread without any lumps.
Step 4: Insert Concrete Blocks and Place Your Bird Bath
Once the gravel field is even, place one or two concrete blocks depending on the size of your hole. If you can add up to 3 or 4 concrete blocks, you probably dug too wide and have to start from scratch. The optimum placement is one or two, depending on the size of your birdbath.
When the concrete blocks are in and leveled, you can place your birdbath. Try to gently push the birdbath to see if it wobbles. If everything is okay, let the birdbath stay and add more gravel. This time, you don’t have to be too careful because even if the gravel spills out of the hole, it’ll cover the hole much better.
Final Step: Fill The Bath With Water and Test It
Fill your birdbath with water and apply force to see if it wobbles. If it does, you’ll need to remove the gravel, add a bit of sand and then fill it up with gravel. That’s the only way; otherwise, you’ll have to start from scratch. Keep repeating the process until you either run out of space or your birdbath stands still.
Flagstone Technique
Using flagstone instead of gravel is another way to secure your birdbath. Follow all the steps from the concrete technique but instead of applying another layer of gravel, add flagstones. This might give your birdbath more grip. You could use this technique if you failed at the final step of the concrete block technique.
Cementing Technique
Another method of stabilizing your birdbath is by using cement. Follow till step 2 of the concrete block technique but when you start adding gravel, add cement on top before placing the concrete blocks. This will fix your concrete slabs in one place. But you need to be careful and ensure that there aren’t any lumps of cement. Otherwise, you only have one shot at getting it right, and that comes in the next step when you place the birdbath.
When your concrete slabs are tightly locked, add another layer of gravel and cement. This is your last chance to get things right because you are doomed if it doesn’t work. Pop any air bubbles that form and evenly spread the cement that’ll tie your birdbath with the concrete underneath it and the gravel on its sides.
The cementing technique is an excellent way to stabilize birdbaths, but it’s a permanent fix. You can’t easily move your birdbath to another location, so think twice before cementing and choose a spot where you’ll never hope to plant anything.
You Put Out a Birdbath But Birds Aren’t Using It
There can be several reasons for that, but it has nothing to do with the placement of your birdbath. For starters, your area might not attract too many birds because of the climate. Or there might be too many trees and shrubs in your area where birds love nesting and bathing.
The Bottom Line
All the techniques mentioned above will help you stabilize your birdbath. But the cementing technique is a permanent fix, so you should think twice before going with it. Nevertheless, when your birdbath is fixed in one position, it might attract more birds because it’s less wobbly. Moreover, there are fewer chances of it breaking and falling apart. We hope our tips help you stabilize your birdbath and add more decor to your backyard.